

As the owner of ADN Kimono, I've spent years helping travelers prepare for trips to Japan - from spring cherry blossoms season through summer festivals and autumn leaves. One question comes up more than any other: how to pack a yukata so it arrives looking crisp, not crumpled. This guide gives you everything you need: a step-by-step folding method, smart suitcase placement, the travel hack of using a pre tied obi, and what to bring for geta wooden sandals, tea ceremony visits, and festival days. AnotherDateNight (ADN) is our trusted online store for authentic japanese kimono and yukata, and every tip here comes from real customer trips - not theory.
How to Pack a Yukata Without Wrinkles?
A yukata is a modern kimono made of cotton, unlike silk kimonos used for formal occasions. That lightweight cotton fabric is breathable and perfect for summer, but it can develop stubborn wrinkles if you fold carelessly or store it damp. The best way to pack a yukata is to fold it properly along its seams - the traditional Japanese folding method is specifically designed to prevent creases.
The goal is simple: arrive in Tokyo, Kyoto, or Hiroshima, hang the garment for ten to fifteen minutes, and step out ready for a photo under cherry blossoms or a casual tea ceremony experience. Some travelers ask about rolling versus folding. For yukata cotton or cotton-linen blends, a flat kimono-style fold inside a suitcase preserves the silhouette far better than rolling, which can distort the collar and drape of the body panels.
Step-by-Step: How Do You Fold a Yukata for Your Suitcase?
Properly folding a yukata is essential to keeping it wearable and wrinkle-free. Follow this sequence on your bed before your flight - it works for both men's and women's yukata, only the length changes.
- Lay the yukata flat on a clean surface, face up, smoothing the fabric from collar to hem with your palms.
- Fold the sleeves straight out to each side and align them neatly along their seam lines.
- Fold the inner front panel back along its seam toward the center. Align the collar by bringing the right outward-pointing collar over the left one.
- Fold the body in half along the center back seam to bring the left side and right side panels together. The left side of the yukata should always go over the right - this is culturally essential in Japan.
- Fold sleeves inward along the shoulder line so they lie flat on the body.
- Adjust the hem so it is squared off and smooth out any excess fabric or bubbles.
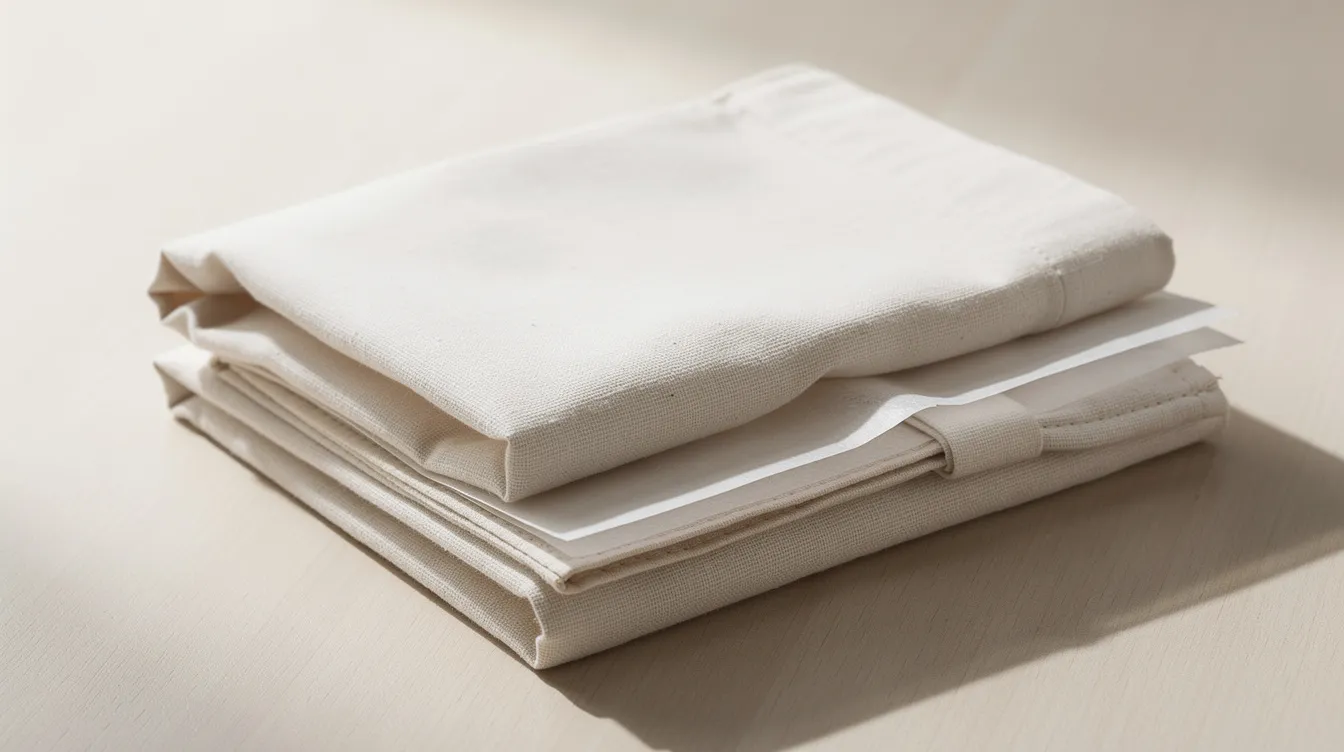
- Fold the yukata horizontally once or twice depending on your suitcase size to create a neat rectangle roughly A4 paper size.
- For delicate fabric, place tissue paper between folds to prevent sharp creases. Wrap the folded yukata in breathable materials like washi paper to prevent friction - for packing or long-term storage, a washi paper envelope works perfectly.
- For thick cotton festival yukata, press gently with your palms rather than sharply creasing the edges.
- Place the folded yukata inside a thin garment bag or packing cube to protect it from zippers and shoe soles.
- Mark which side is the collar so it's easy to grab and get dressed in under three minutes at your hotel.
Folding along the pre-stitched seams prevents wrinkling, and properly folding a yukata this way utilizes its natural seams to keep everything in place throughout your trip.
How Should You Pack the Obi: Traditional Obi vs Tsuke Obi?
The obi is the larger belt tied around the yukata - a decorative sash that completes the look. Traditional obi belts are beautiful, but they're bulky, stiff at the core, and easily crushed in a fully packed carry-on bag. For travelers, ADN's Tsuke Obi is a modern travel hack: a lightweight pre tied obi with a pre-shaped bow and separate waist belt that you can put on alone in about three minutes.
Packing a traditional obi:
- Lay it flat, fold in large loose thirds or quarters. Keep ties and cords flat when folding the obi separately.
- Avoid tight rolling that permanently creases the stiff middle core.
- Place it along the flat back side of the suitcase or in a garment folder.
- Do not place heavy shoes or liquids on top of it.
Packing a Tsuke Obi:
- Separate the bow part and the waist belt part.
- Place the bow into a corner of the suitcase, padded with soft clothing on the other side.
- Coil the thin belt loosely and tuck it into a side pocket or packing cube.
- Its lightweight construction means almost no added luggage weight.
For travelers who want to avoid waiting in long rental-shop lines in Asakusa or Kyoto, a pre tied obi from AnotherDateNight lets you skip the queue and dress yourself quickly in your hotel room. Asakusa Kimono Rental Koto is located in Tokyo, and VASARA offers kimono rentals in Tokyo and Kanazawa - but bringing your own saves time and money across a multi-day trip.
Quick Comparison: Which Obi Is Better for Travel?
Here's how the two options stand side by side for anyone putting together their Japan packing list:
|
Feature |
Traditional Obi |
Tsuke Obi (Pre Tied) |
|---|---|---|
|
Weight in suitcase |
Heavier due to stiff core |
Lightweight, minimal impact |
|
Volume |
Takes a whole packing cube |
Fits in a side pocket |
|
Risk of crushing in overhead bins |
High - padding or stiffness can deform |
Low - flexible construction |
|
Dressing alone |
Needs help; complex to tie |
Can dress in ~3 minutes solo |
|
Best use case |
Formal ceremonies, weddings |
Sightseeing, festivals, casual tea ceremony |
|
Travel-friendliness |
Requires careful planning |
Grab-and-go from your bag |
Serious enthusiasts around the world tend to own both, but for a first Japan trip, a Tsuke Obi is the smarter, stress-free choice.
What Accessories Should You Pack with Your Yukata?
A simple packing checklist helps you avoid buying overpriced accessories at tourist shops upon arrival. Here's what ADN customers bring:
Pre-trip Yukata Packing Checklist:
- Yukata in cotton or cotton-linen (seasonally appropriate - cherry blossoms pattern for spring March–April trips, bold prints for summer festivals)
- Obi sash (preferably ADN Tsuke Obi for travel convenience)
- Obijime cord to secure the obi in place
- Koshihimo ties or a simple soft belt - wear a koshihimo belt to secure the yukata at the waist
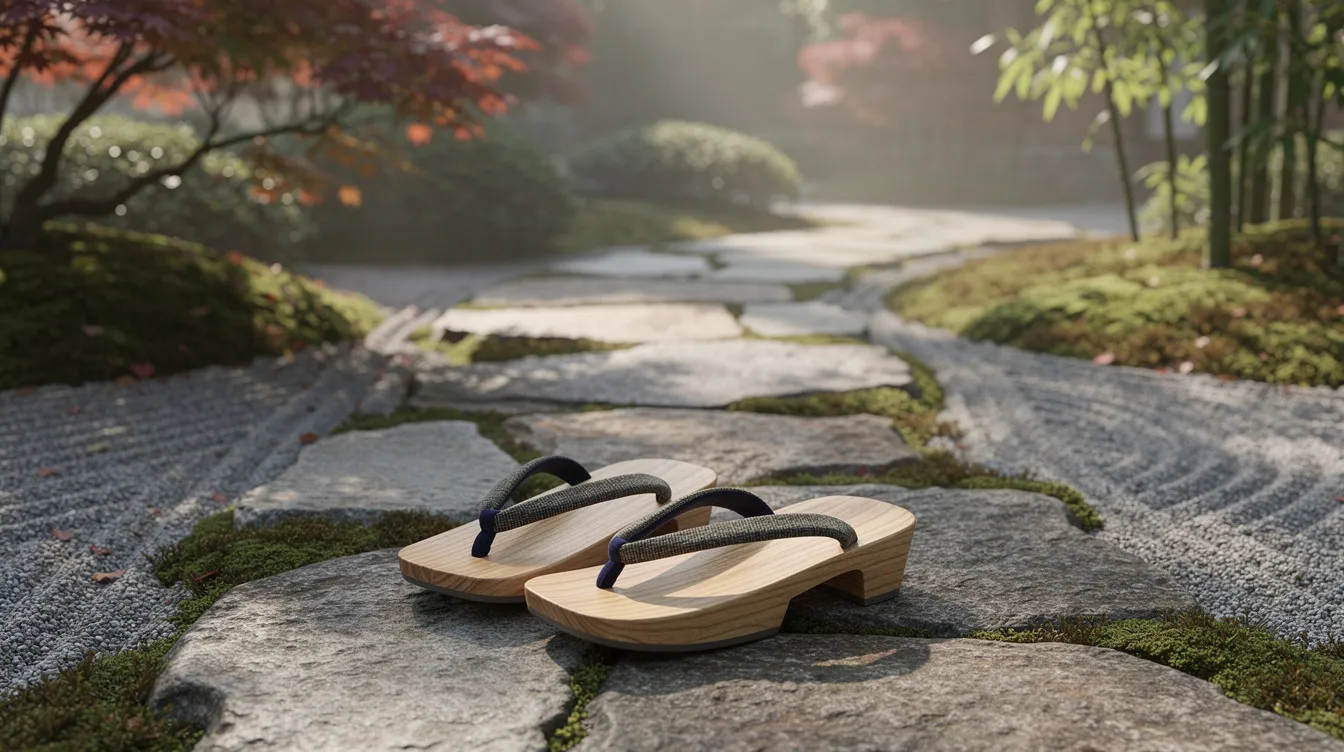
- Wooden sandals: geta or zōri sandals that match the yukata's pattern, with non-slip soles for stone streets in Kyoto
- Tabi are traditional socks worn with yukata - pack tabi or no-show socks depending on season
- Lightweight undergarments: a camisole and shorts as a layer for modesty at onsen towns
- Leggings for cooler autumn evenings if needed
- Small folding hanger to hang and air the yukata in hotel bathrooms
- Travel-size wrinkle-release spray safe for cotton and linen fabric
- Mini sewing kit for emergencies - a loose hem or sleeve stitch fix
- A hand fan is a common accessory for yukata wearers, and it fits in any bag
- A hair accessory for women who want a polished look in every picture
ADN Kimono offers curated yukata sets including coordinated yukata, Tsuke Obi, and matching accessories chosen specifically for travel photos.
How Do You Fit a Yukata into Different Types of Luggage?
Not everyone travels with a large suitcase - some manage week-long day trip itineraries out of a 40L carry-on.
Hard-shell suitcase: Place the folded yukata flat against the lid side, with soft clothing layered on top to cover and cushion it. This keeps the fold neat and prevents shifting.
Soft carry-on bag: Pack the yukata near the rigid back panel to minimize bending. Avoid stuffing shoes directly beside the collar area.
Backpack: Use a slightly looser fold, placing the yukata in a large zip bag toward the center of the pack, surrounded by clothing on all sides for protection.
If you plan multi-city trips - Tokyo to Osaka to Hiroshima - keep the yukata and Tsuke Obi near the top of your luggage for easy access on festival or tea ceremony days. Never store it in the same compartment as liquids or cosmetics.
What About After You Arrive: How Do You Unpack and Refresh Your Yukata?
- Unpack the yukata immediately upon arrival to minimize creases from transit. Proper unpacking matters just as much as folding, especially after a long-haul flight.
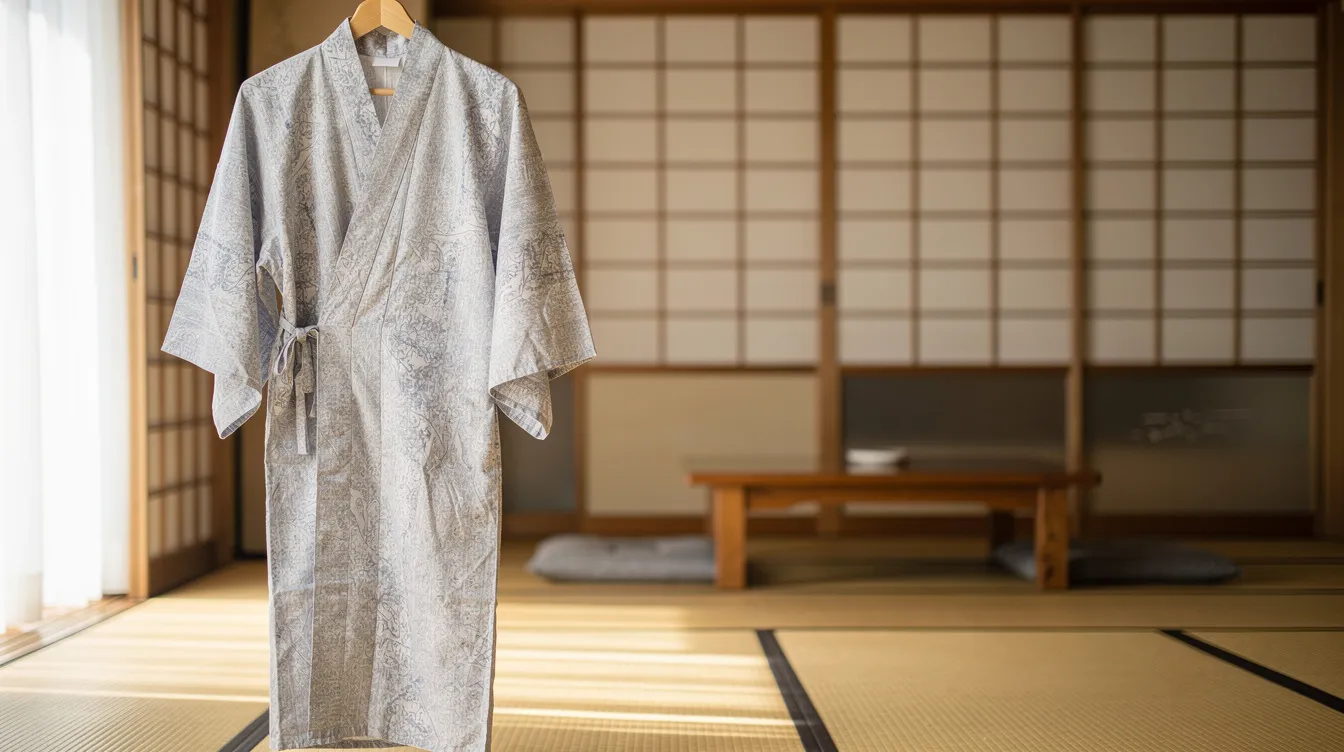
- Remove the yukata from the suitcase as soon as you reach your hotel or ryokan.
- Hang it by the shoulder line on a hanger, aligning the back seam so the robe falls straight.
- Place the hanger in a steamy bathroom for ten to twenty minutes while you shower - watch the wrinkles relax naturally.
- Gently smooth the panels with your hands from collar to hem. Do not tug hard on any stitch or stitched area.
- Air it near an open window away from direct harsh sunlight for thirty to sixty minutes. Let the rest of the fabric settle.
- Store the Tsuke Obi bow on a shelf or hang it from a hook so it keeps its shape - don't let it rest under heavy items.
- Keep wooden sandals near the door, ready for evening walks along canals or shrine paths.
In small hotel rooms, use towel bars or door hooks when hangers are limited. A pulled-tight shower curtain rod also works perfectly.
Can You Travel with a Yukata Instead of a Full Japanese Kimono?
Kimonos date back to the Heian Period (794–1192) - over a thousand years of history. Kimonos are considered formal wear while yukata is informal, designed for summer lightness. A furisode kimono - traditionally worn by unmarried women - features sleeves averaging 39 to 42 inches long and requires multiple layers, a nagajuban undergarment, and often a hakama or elaborate obi. Yukata is preferred during summer for its lightness and simplicity.
Here's why yukata wins for most tourists on their first trip:
- Lighter packing: A new kimono in silk adds significant weight and bulk. A cotton yukata fits 2026's stricter airline baggage policies far more easily.
- Self-dressing: With a Tsuke Obi, you can get dressed solo - no professional dressing services or rental shop wait times.
- Activity-friendly: Perfect for strolling under cherry blossoms in Fukuoka, visiting Kinosaki Onsen, or attending casual tea ceremony experiences. Japanese people wear them casually all summer.
- Lower risk: If street food, matcha, or festival snacks spill, you can wash cotton. A fine silk kimono costing thousands of dollars is far harder to clean.
Yūki-Tsumugi silk kimono rentals are available across Japan, Nishijin Textile Center offers custom kimono orders in Kyoto, and kimono rental is available for men, women, and children in Kumamoto - but for most travelers, one high-quality yukata from AnotherDateNight plus a travel-friendly Tsuke Obi is more practical than renting a full formal set multiple times.
Locals in places like Tokyo, Osaka, and Kanazawa generally stand supportive when tourists wear yukata respectfully: left panel over right, obi tied at the back, and proper footwear. Don't forget - the fashion statement you make reflects the culture you're honoring.
How to Avoid Common Yukata Packing and Wearing Mistakes
Over the years at ADN, I've seen customers make the same mistakes before learning proper techniques. Here are the most common - and how to fix them:
- Mistake: Folding the yukata too small, causing deep creases at the waist. Fix: Keep folds large and shallow, roughly notebook-sized. Give the fabric space.
- Mistake: Packing the traditional obi under laptops or books in the middle of a suitcase. Fix: Either bring a Tsuke Obi or pack the obi flat at the top with only soft items above it.
- Mistake: Forgetting koshihimo belts and improvising with bulky hotel robes. Fix: Pack at least one thin tie or belt dedicated to securing your yukata at the waist.
- Mistake: Wrapping right over left when dressing. Fix: Always wrap the left side over the right side. Right over left is used only for dressing the deceased in Japan.
- Mistake: Wearing geta wooden sandals without socks in cooler months. Fix: Pack tabi or toe socks for autumn trips to Kyoto or Kumamoto.
- Mistake: Storing a damp yukata folded immediately after an onsen visit. Fix: Always air-dry completely on a hanger before refolding for your next train ride.
ADN Kimono's product pages include short reminder cards and dressing diagrams that customers can screenshot and keep on their phones - so you never have to stand in front of a mirror second-guessing which panel goes where.
Ready to Pack Your Yukata for Japan?
If you follow the folding steps above, use a Tsuke Obi, and check the packing checklist, you can step out of your hotel in a crisp yukata in just a few minutes - no rental shop queues, no stress. Careful packing preserves the beauty and drape of authentic Japanese textiles and makes every photo at shrines, canals, and tea houses look polished.
Explore AnotherDateNight (ADN)'s curated collection of authentic yukata, japanese kimono, and travel-ready Tsuke Obi sets before your 2026 Japan itinerary is finalized. Starting the journey with the right yukata and obi makes every cherry blossom stroll, tea ceremony, or onsen evening feel more special - and a whole lot less stressful.