

How to Tie a Hanhaba Obi: Easy Bunko Knot for Yukata Beginners
Summer festival season is here, and nothing pulls a yukata look together faster than a well-tied obi. If you've never knotted one before, the hanhaba obi is where you start-it's the friendliest belt in Japanese culture for beginners, and the bunko musubi (butterfly knot) takes roughly three minutes once you get the hang of it.
What Is a Hanhaba Obi and Why It's Perfect for Beginners
A hanhaba obi is a narrow sash worn with casual kimono and yukata. The name literally means "half width obi"-it measures about 12 centimeters wide (some versions reach 15 cm), basically half the width of formal styles. A typical hanhaba obi is 3.6 to 4 meters long, giving you enough length to wrap twice and still form a generous bow at the back.
Compare that with a Nagoya obi (roughly 30 cm wide, pre-shaped, semi-formal) or a Fukuro obi (equally wide, heavy brocade, reserved for weddings and ceremonies). Both demand accessories like an obi makura pillow and obi age sash, plus more advanced folding techniques. The hanhaba obi does not require an obi makura or obi age-no complex padding, no extra layers. It's lighter on your waist and faster to tie, which matters when you're getting ready for a fireworks date.
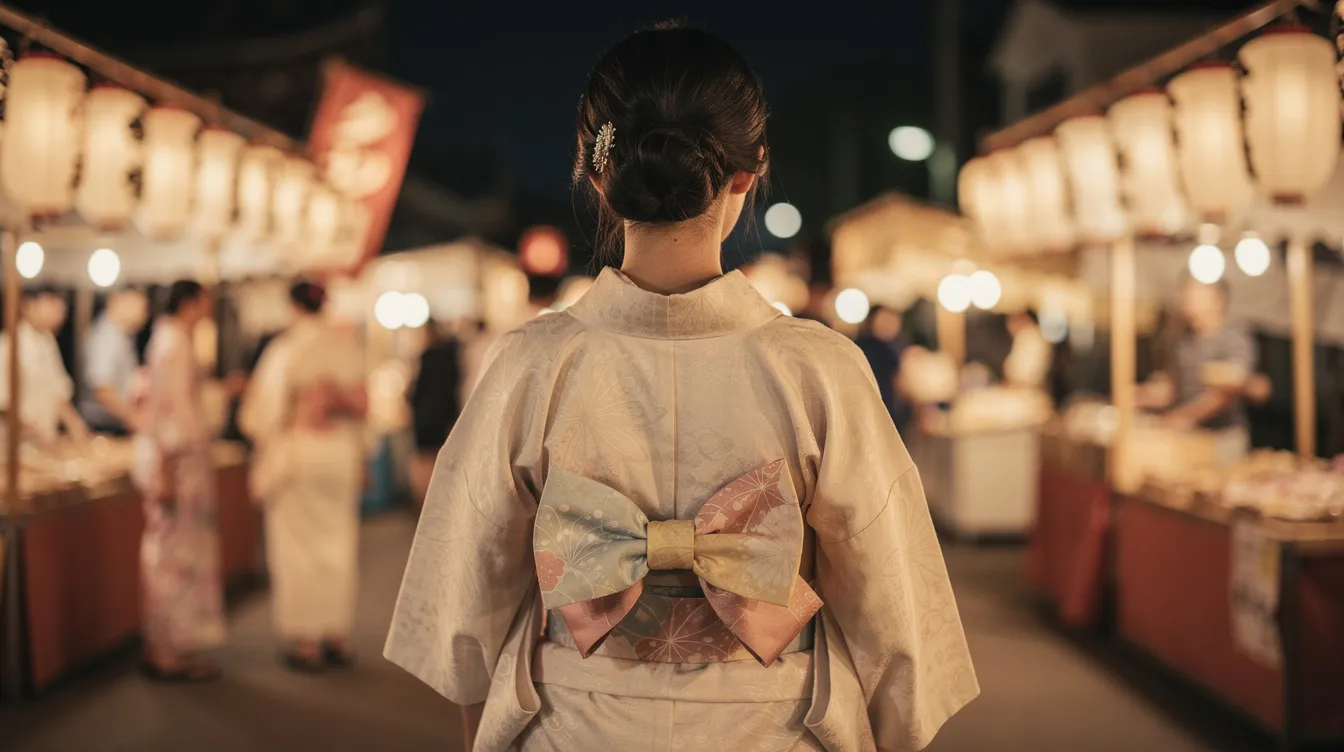
This casual obi is commonly worn with yukata during summer festivals and pairs beautifully with casual komon kimono for weekend strolls. Hanhaba obi knotted styles include the Bunko musubi and Kai-no-kuchi, along with the karuta style. Common tying methods include bunko, karuta, and kai no kuchi. Of these obi musubi options, the bunko style is recommended for beginners due to its simplicity-it provides a straightforward knot for newcomers to learn and is the most popular knot for summer yukata and casual kimono.
"At AnotherDateNight we almost always start beginners on a reversible hanhaba obi before moving them to a Nagoya obi later."
How to Choose the Right Hanhaba Obi for Your Yukata
The hanhaba obi is versatile and suitable for beginners, but picking the right fabric and length makes a real difference.
-
Material - Cotton is breathable and holds tension well, ideal for humid July–August evenings. Cotton-linen blends add crispness. Polyester prints look vibrant but can be slippery; avoid very slick fabric if you're just starting out.
-
Drape and stiffness - You want moderate structure so the bow wings hold a nice shape without digging into your body when you sit. Because hanhaba obi lacks heavy structural cores, it allows creative and comfortable knots that move with you.
-
Reversible patterns - Many hanhaba obi are reversible with different patterns-one side solid pastel, the other a floral or geometric print. That doubles your styling options from a single piece.
-
Color pairing - A light lavender yukata looks fresh with a mustard × cream reversible obi. A navy yukata with a striped × solid obi shifts the vibe from casual daytime to a romantic evening.
-
Formality - A Nagoya obi suits semi-formal kimono; a Fukuro obi or maru obi belongs at weddings. Hanhaba obi is the relaxed, playful option-the casual belt for informal occasions.
AnotherDateNight curates hanhaba obi specifically sized and toned for modern summer dates, coordinating with their yukata sets so you never have to guess at length or color match.
Step-by-Step: How to Tie a Classic Bunko (Butterfly) Knot with a Hanhaba Obi
Grab a mirror, take a breath, and gather your materials. You need your yukata already secured with koshihimo and date-jime, a hanhaba obi about 3.6–4 m long, and optionally a soft obi-ita (front stiffener) for a smooth front line. No obi makura pillow required-hanhaba obi can be tied without one.
Step 1 - Stand straight and find the center of the obi by folding it in half. Place that center point at your front waist, collar side up, patterned side facing out. Pre-folding the edges of a hanhaba obi can provide a cleaner look when wrapping. Tying a hanhaba obi involves wrapping it twice around the waist before knotting, so wrap the long end around your body twice, keeping the bottom edge just above your hip bones. Use your left hand and right hand to pull the fabric smooth and tight enough to hold, but not so tight you can't breathe.
Step 2 - Leave about 40–50 cm of the short end draped over your right shoulder (roughly from shoulder to mid-thigh). This tail will later anchor the center of the bow.
Step 3 - Cross the long end over the short end at your front and tie a half knot to secure everything in place. Tuck in the obi-ita if you're using one.
Step 4 - With the long end, fold accordion-style pleats each about shoulder-width. Stack three or four neat layers-these form the wings of your bunko bow. The bunko style creates a three-dimensional ribbon appearance, so fan the pleats slightly for volume.
Step 5 - Bunko musubi requires forming a bow and anchoring it with the short end of the obi. Bring that short end up from behind, wrap it around the middle of the pleated wings once or twice, and pull snugly to pinch the center. Tuck the rest of the tail into the layers behind the knot so it stays hidden.
Step 6 - Gently rotate the entire assembly clockwise from front to center back. Hold the obi wrapped section at your waist with both hands and turn your body, keeping tension even so the front stays flat.
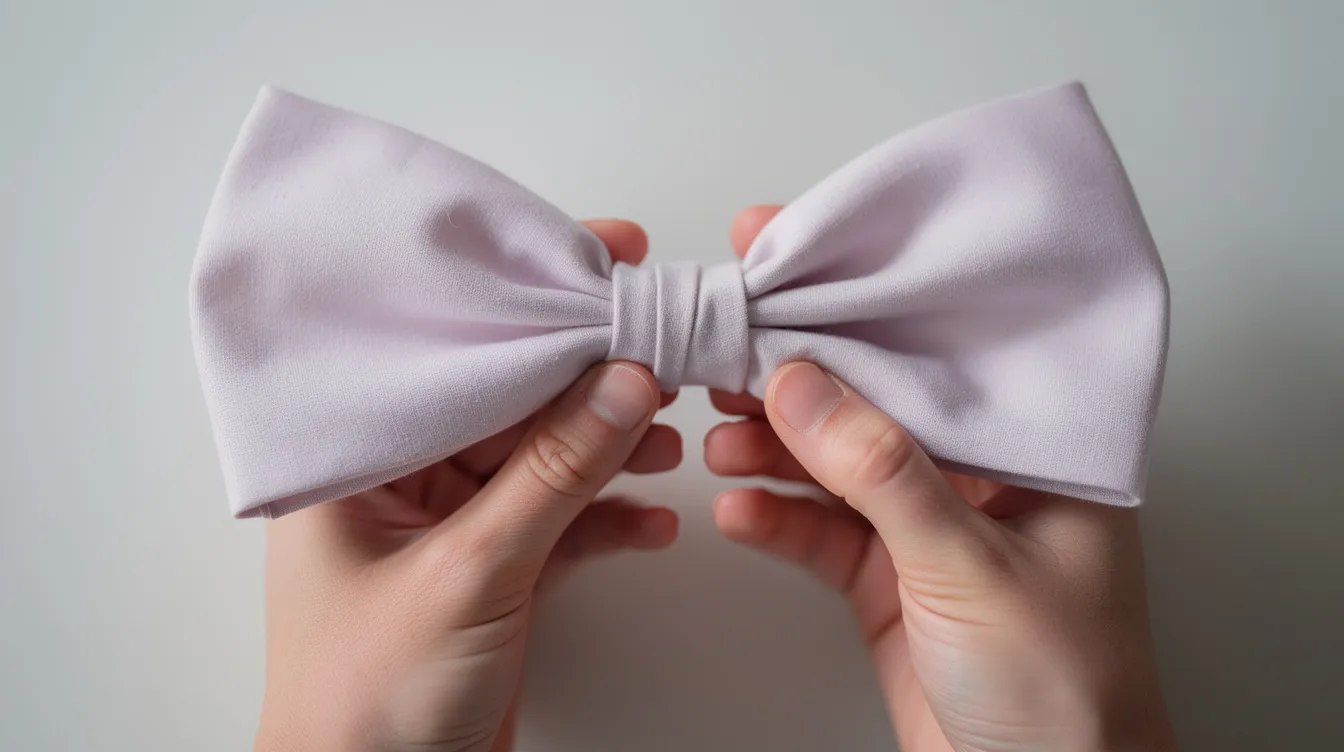
The final bow should resemble a fluffy ribbon gift bow, sitting flat against your back at the right side of your spine, not drooping below your waistline.
Quick fixes: If the bow looks droopy, tighten the center wrap. If it's too small, make longer loops with the long end. If it's off-center, adjust before fully committing the rotation. Common beginner mistakes with hanhaba obi include uneven tension and inadequate foundation security-so double-check those first wraps.
Even professional kitsuke artists need practice to achieve perfect symmetry. Three or four tries in front of the mirror is completely normal.
Variations, Accessories, and When to Use Other Obi Types
Once you're comfortable with bunko, experiment. The Candy (キャンディ) knot gives a cute, round silhouette. Kai no Kuchi (貝の口) produces a compact, flat form that reads more mature-great for women wearing tsumugi or wool casual kimono.
-
Obi makura - Needed for taiko musubi with a Nagoya obi or Fukuro obi, not for hanhaba bunko.
-
Obi-jime - A decorative cord tied over the obi to add a pop of color. Not traditional with hanhaba obi, but increasingly welcome in modern styling.
-
Obi-dome - A small ornament clipped to the obi-jime for extra polish.
A Nagoya obi is pre-shaped for classic taiko musubi and semi-formal occasions. A Fukuro obi handles formal events-weddings, tea ceremonies-and needs an obi makura, obi age, and advanced technique.
When to choose what: Hanhaba obi covers summer festivals, date nights, and weekend strolls. Graduate to a Nagoya obi when putting together a semi-formal outfit, and leave the Fukuro obi for special place celebrations.
Try reversing your obi mid-season, or tying bunko one evening and kai no kuchi the next. A single reversible obi from AnotherDateNight can basically double your wardrobe without a second purchase. Watch tutorial videos online for each style to measure your comfort level before stepping out.
Pro Tips from AnotherDateNight and Next Steps
A few stylist tips to loosen any remaining nerves:
-
Practice the fold and wrap motions with a long scarf first-learn the art of the movement before committing your real obi.
-
Mark the center of your obi with a small piece of removable tape so you always know where to start.
-
Check your back view with a hand mirror or smartphone camera. A bit of asymmetry is normal-it adds personality.
-
Avoid over-tightening. You need to breathe, sit, and enjoy the rest of your evening comfortably.
After a humid festival night, untie your obi by reversing the folds. Air it out overnight to let moisture evaporate, then fold along existing creases. Keep cotton obi out of harsh sunlight to protect colors and motifs on reversible prints. Store flat or loosely rolled-never bunch it.
A slightly imperfect bunko musubi still looks charming and authentic, especially on soft cotton fabric. Stiff precision isn't the goal; comfortable confidence is. Every AnotherDateNight yukata set is designed so the hanhaba obi length, stiffness, and reversible designs cover the bunko knot in this post and beyond.
Welcome to the world of wearing traditional Japanese summer style on your own terms. Explore AnotherDateNight's current collection of reversible hanhaba obi and coordinated yukata-your next summer festival or date night deserves a bow that turns heads. Leave a comment if you have questions, and we'll help you find your perfect match.