

How to Tie a Men's Obi Belt: Kainokuchi Knot Step by Step
How to Tie a Men's Obi Belt: Kainokuchi Knot Step by Step
The Kainokuchi knot-also known as the clam's mouth knot-is a traditional japanese knot used for yukata and kimono. The finished knot resembles an open clam shell, making it one of the most recognizable obi knots in Japan. While obi knots vary from simple to complex in style, Kai-no-kuchi is a basic knot for kaku obi that creates a flat and comfortable profile, suitable for sitting or leaning back. It is commonly worn by both men and women, though this guide focuses on men's obi belt tying rather than decorative ways like bunko musubi. Whether you wear a casual kimono or a summer yukata, this one simple knot covers most situations. Below, you'll discover a clear, step-by-step method you can learn and follow in front of a mirror-even as a complete beginner.
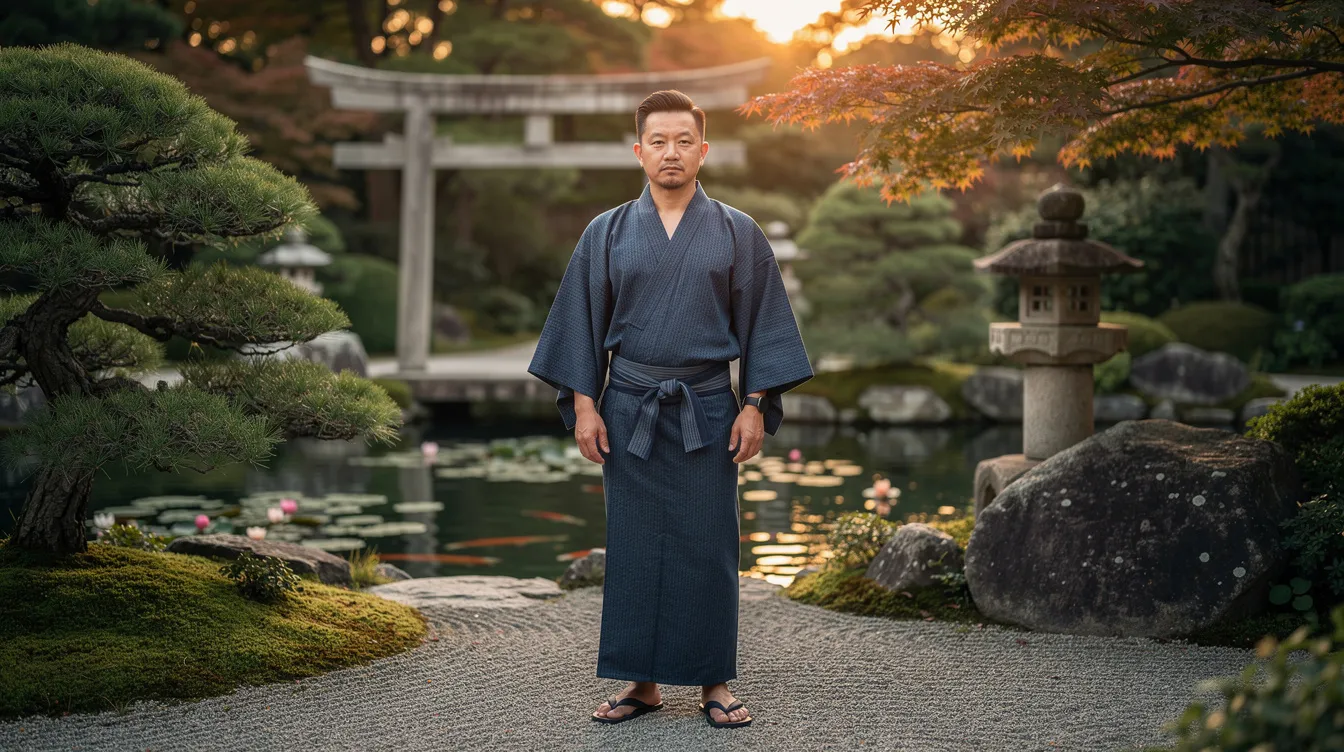
Before You Start: Choosing and Preparing Your Men's Obi Belt
The right belt and fit make tying the Kainokuchi knot much easier. A kaku obi is the men's obi, measuring about 4 m long and roughly 10 cm in width-stiff, narrow, and traditionally made of cotton or silk fabric. The knot is typically tied using a half-width obi like this. Pick a length that matches your body and shoulder width: you need enough for two full wraps plus a secure knot without bulky excess. An obi can be plain or richly decorated with motifs-dark tones like navy or charcoal suit formal looks, while bolder stripes work for casual yukata.
Before you begin, remember to:
- Iron or smooth the obi to remove creases
- Fold it neatly in half lengthwise for a crisp edge
- Confirm your kimono or yukata collar, sleeve, and seam are properly adjusted
- Put on tabi (traditional socks worn with kimono) and setta, the traditional footwear, beforehand
If applicable, prepare your haori-himo, which represents men's dignity in kimono attire
Step-by-Step: How to Tie the Kainokuchi Knot (Front, Then Rotate to Back)
Men typically tie the knot at the front of the waist, then rotate it to the back center. Practicing in front of a mirror helps center the knot easily.
1. Position your kimono or yukata correctly. The left panel goes over the right-never the reverse. The hem should rest just above the ankles with front panels lying flat.
2. Find the center of the obi. Place it slightly off-center on your front body at navel height, folded edge facing up, raw edge facing down. Hold one end (the te-saki) in your left hand, leaving about 30–40 cm of length.
3. Wrap the obi around your body 2 laps. Use your right hand to guide the longer end (the tare) around your back and across the front, then overlap to create two even layers around the waist. Keep the obi firm but comfortable while wrapping to prevent slipping-no twist in the fabric.
4. Form the knot. Cross the two ends at your front. Tie tare-saki under te-saki, making a foundational square-style knot for security. Pinch and fold one end into a flat loop-the "mouth"-then slide the other end through it. Adjust the shape by pulling te-saki firmly to tighten the knot into a compact rectangle. A properly tied Kainokuchi knot should be symmetrical and compact, with no loose flaps.
5. Tuck the tail. Excess length of the tare should be tucked inside the wrapped layers to maintain a flat appearance. The knot should bow slightly outward but lie horizontally, parallel to the floor.
6. Rotate to the back. Hold both sides of the obi and turn the obi clockwise to avoid collapsing the collar. Slide the knot gently from front to back center. Check symmetry in a mirror and ensure the belt is level.
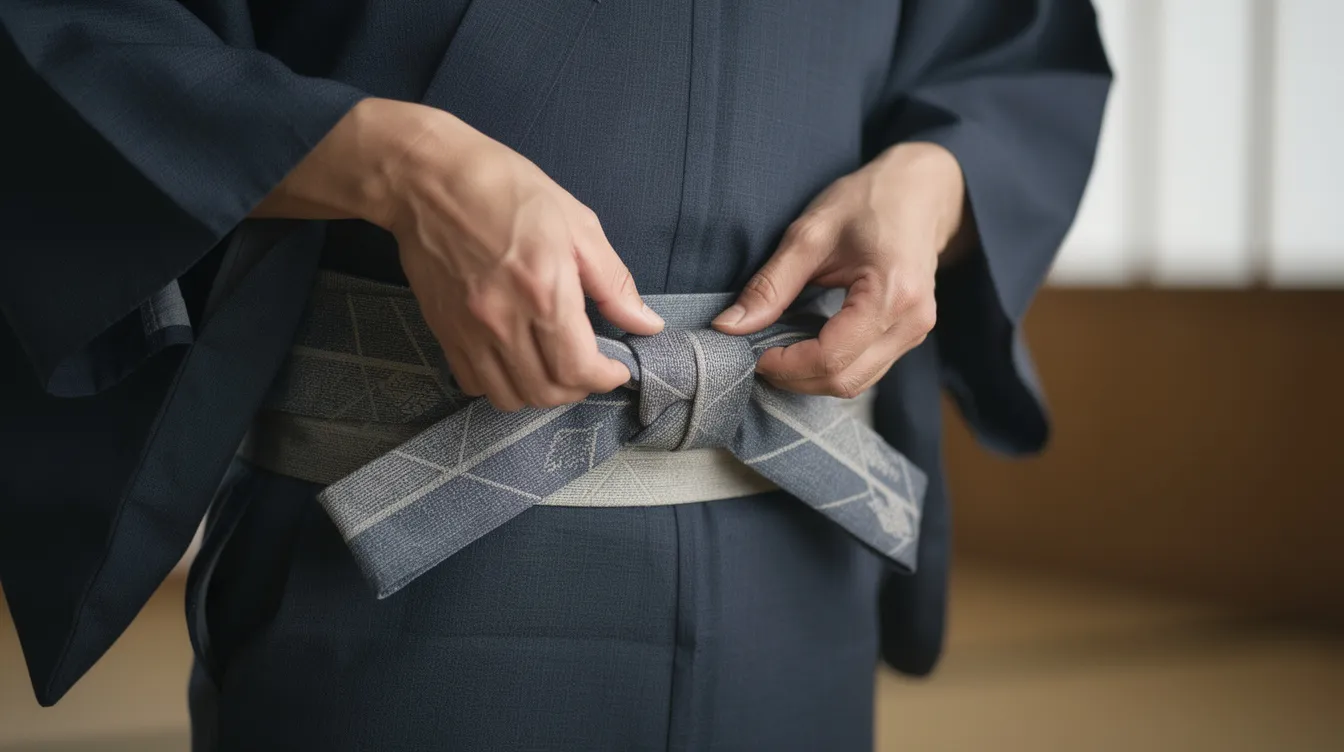
Fine-Tuning the Fit: Height, Shoulder Width, and Common Mistakes
Small adjustments in position and tension make a big difference in comfort and appearance. The ideal spot for men is just below the natural waist, slightly under the navel and above the hip bone, running straight and parallel to the floor.
How your build affects placement:
|
Build |
Adjustment |
|---|---|
|
Broad shoulders |
Place obi slightly higher to balance proportions |
|
Slim frame |
Keep the belt lower for a grounded silhouette |
|
Long torso |
Center the obi to avoid making the chest look short |
Common mistakes to avoid:
-
Allowing the obi to slip or tilt downward over time
-
Leaving a twist in the fabric during any wrap
-
Making the knot excessively large or loose
If the knot drifts off-center, rotate it back and tighten by pulling both ends horizontally. You should be able to slide two fingers between the obi and your body, breathe deeply, and sit cross-legged without pain. Practice the Kainokuchi knot a few times at home before events to build confidence.
Care, Variations, and When to Use Other Men's Obi Knots
Once you master this knot, you can wear most casual and semi-formal kimono or yukata correctly. For care, air out your kaku obi after each use, roll or fold it to avoid creases, and spot-clean cotton or dry-clean silk.
There are minor variations-a longer knot face or a differently tucked tail-but the underlying structure stays the same. The bunko knot, by contrast, is tied with a fukuro obi about 4 m long and is popular for women's kimonos, offering a more decorative look.
For styling, try pairing a striped kaku obi with a plain indigo yukata, or use a contrasting color to add definition. If you want a visual walkthrough, search for a video tutorial to see the hand movements in real time.
Even in Japan, most men rely on this single straightforward knot. Consistency and practice matter far more than complex styles-give it a few tries, and you'll tie it from memory every time.