

Pre-Tied Obi (Tsuke Obi): Make Kimono Wearing Truly Easy
The obi is arguably the most beautiful part of a kimono ensemble—and also the most frustrating to master. Even in Japan, many people find traditional obi tying so difficult that they avoid wearing kimono altogether or pay professionals to dress them. A basic otaiko musubi (the standard drum-shaped bow commonly worn by women) can take 20–30 minutes to tie properly, even for someone who practices regularly.
At ADN Kimono, we specialize in pre tied obi (also called tsuke obi) that remove this barrier entirely. Our goal is simple: let you enjoy the beauty of kimono without the stress. This article will walk you through exactly why traditional obi tying is so hard, what tools you’d need, and how ADN Kimono’s products solve those problems—so you can dress confidently in minutes, not months.
What Is an Obi? From Traditional Sash to Everyday Challenge
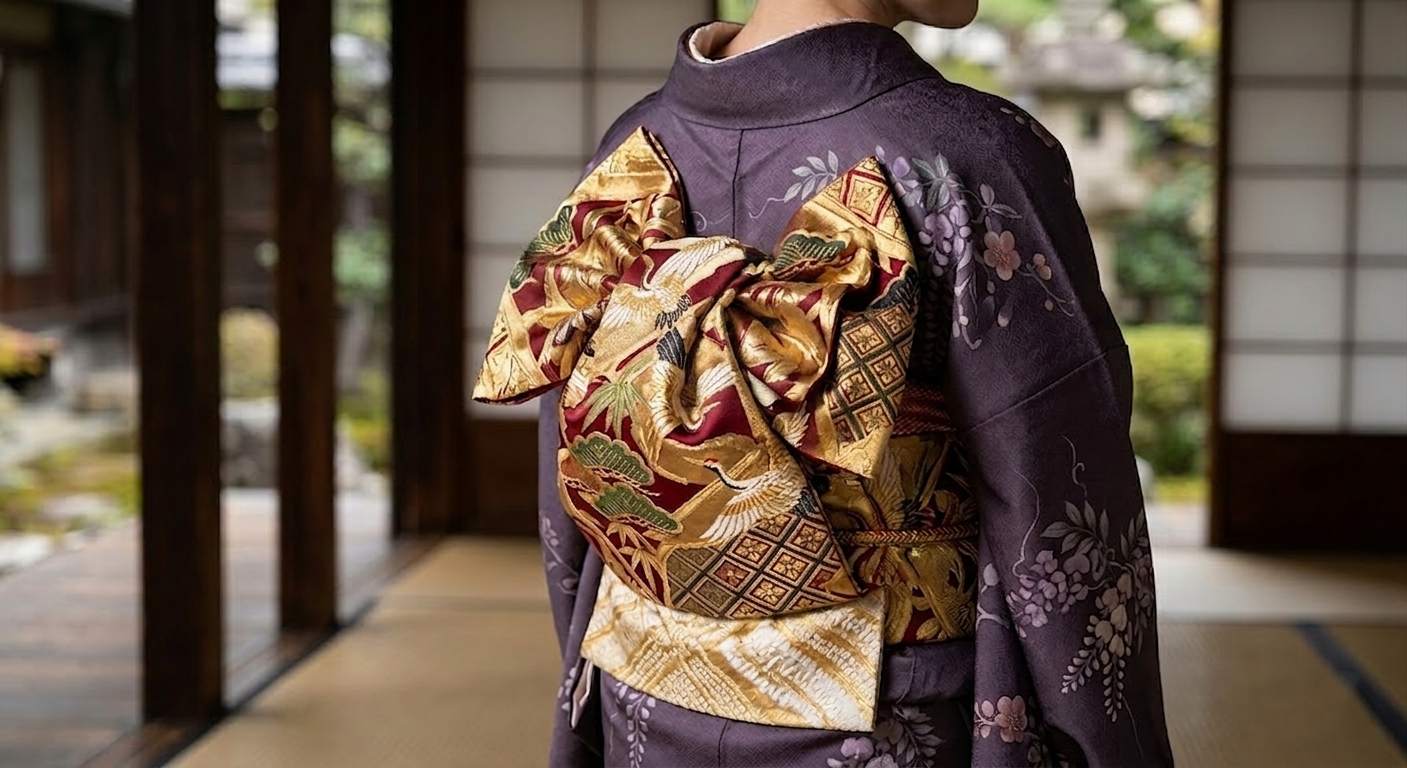
An obi is the wide sash wrapped around the waist over a kimono or yukata to secure and style the garment. Originally a simple cord during the Heian period (794–1185), the obi evolved into the elaborate, heavy sashes we see today. Modern women’s formal obi typically measure 25–30 cm in width and over 4 meters in length.
Formal obi like the fukuro obi are stiff, padded, and can weigh 1–2 kg. They’re designed for single-use occasions—weddings, coming-of-age ceremonies—not casual daily tying. Semi-formal nagoya obi are slightly more practical, while the narrower hanhaba obi suit casual yukata worn at summer festivals like Kyoto’s Gion Matsuri in July.
Here’s the key distinction: a traditional obi is one continuous piece of fabric that you must fold, wrap, and tie yourself. A modern obi in the pre-tied style (tsuke obi) comes in separate units—a waist belt and a pre-formed bow—that you simply attach. This difference transforms a 30-minute ordeal into a 3-minute task.
How Hard Is It to Tie a “Simple” Obi From Scratch?
Even the “simple” taiko (drum) knot, which became the standard style for adult women in the Taisho era (1912–1926), is genuinely complex for beginners. The otaiko musubi requires symmetrical tension across multiple fabric layers, precise measurements done largely behind your back, and coordination of 4–5 accessories working together.
Learning to tie one basic musubi typically requires 1–2 months of regular practice—often 4–8 sessions of 1–2 hours each in Japanese kitsuke schools—to achieve a neat, repeatable result. Data from kimono academies shows that 60–70% of students need 20 or more practice runs before they can tie consistently.
Even after learning, the process takes time. Most people allocate 20–30 minutes just for the obi portion after donning the kimono. The pain points are predictable:
- Twisted inner layers that create visible bulges under the obiage scarf
- Uneven bow height (2–5 cm too high or low relative to the spine)
- Obi slipping down by midday due to insufficient tension
- Red waist marks from over-tightening to compensate
This difficulty explains why many people book professional kitsuke services for important events. In Japan, professional dressing costs 5,000–15,000 yen ($35–100 USD) per session. For January’s Coming-of-Age Day ceremonies or March graduations, failure isn’t an option—self-tying failure rates hover around 30–50% for intermediates under time pressure.
What You Need to Tie a “Simple” Obi: Tools & Accessories
A realistic look at the required tools shows why “just tie it yourself” becomes overwhelming for most people.
Obi (e.g., a 4 m fukuro obi or nagoya obi): The main piece itself—stiff, heavy, and requiring careful handling to avoid creases. A formal fukuro obi can weigh up to 1–2 kg and resists reconfiguration without permanent wrinkles.
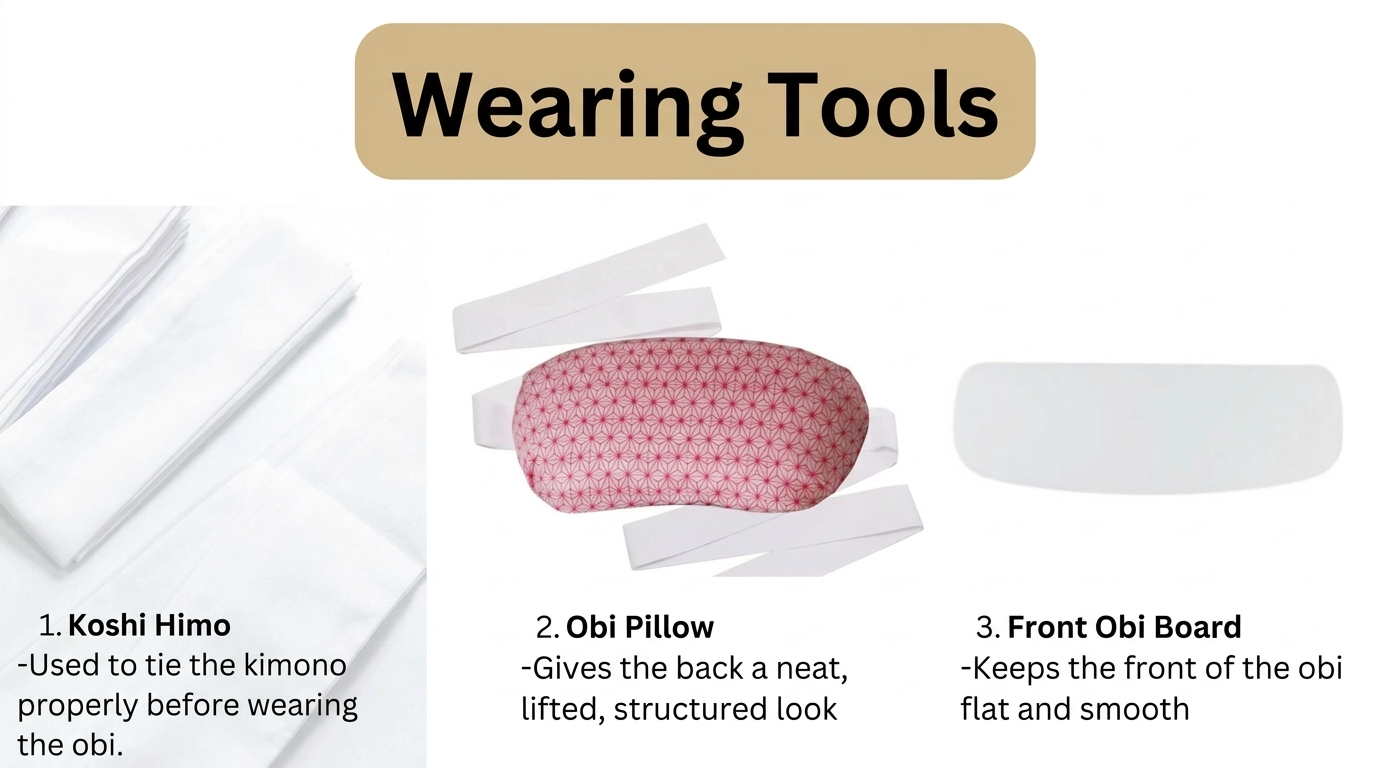
Koshihimo (hip ties) – usually 2–3 needed: Flat cotton ties, each 4–5 meters long, used to anchor the kimono’s layers before you even touch the obi. These prevent bunching and keep everything in place.
Obiita (front obi board to keep front flat): A rigid plastic or bamboo board, approximately 20–25 cm long, inserted vertically between obi layers at the front. Without it, the front panel wrinkles and loses its smooth appearance.
Obimakura (small pillow used for taiko or decorative knots): A small oval pillow, 10–12 cm long, stuffed into the core of the otaiko to prop up the drum shape against gravity. Positioning this correctly while holding multiple fabric layers is one of the trickiest steps.
Beginners often add extra accessories: 4–6 binder clips to pin temporary folds, plastic hooks for tension, and full-length mirrors to counter the disorienting left-right flip when working behind their back. If you make a mistake early—like misaligning the first wrap—you’ll need to disassemble everything and restart the entire 20–30 minute sequence.
Step-by-Step: Why Tying an Obi Takes 30 Minutes (Even When You Know How)
Let’s walk through the typical process of tying a basic otaiko musubi with a nagoya or fukuro obi. Understanding this will show you exactly what you’re avoiding with a pre-tied alternative.
Wrapping the kimono with koshihimo first, ensuring no wrinkles. Before you even begin with the obi, you must secure the kimono with 2–3 koshihimo ties at hips, chest, and waist. This alone takes about 5 minutes and demands attention to eliminate every fold.
Positioning the obi at the correct height on the waist and making the first wrap while keeping tension even. You place the obi horizontally at exact waist height, insert the obi ita for front flatness, then wrap twice while pinching center excess into a hidden core knot. This demands even tension across 4 meters of fabric without twisting—typically 8–10 minutes.
Creating and tightening the “taresaki” and “tesaki” (long and short ends), measuring correct length by eye behind your back. You divide the obi ends, measuring by feel to ensure the tesaki drapes to your hip bone while taresaki reaches your knees. This takes about 5 minutes and is prone to eyeball errors.
Forming the drum shape with obimakura, while holding several layers at once without letting them slip. You fold the tesaki into a flat rectangle over the obimakura pillow, layering 4–5 fabric thicknesses while maintaining stability. This is the most difficult step: 7–10 minutes, and any slip causes asymmetry.
Adjusting the bow height so it sits correctly on the small of your back, not too high or low. The musubi must align with your spine’s natural curve—typically at the middle of your back.
Finishing with obiage and obijime, hiding the pillow and smoothing everything out. The obiage scarf drapes over the top edge to cover the obimakura, and the obijime cord loops through the bow and knots precisely at front center. Another 3–5 minutes.
All of this is done behind your back, often while looking at a mirror that flips left and right. A single mistake—loose tension, misaligned length, twisted inner layers—forces you to untie and start again, adding another 10–15 minutes.
Learning Curve: 1–2 Months of Practice (and Still Not Perfect)
Picture this scenario: someone buys a kimono to wear to a friend’s wedding in October. They spend all of September practicing daily for 30 minutes. On the wedding day, they’re still unsure whether their obi will hold or look right.
In Japan, many people attend weekly kimono classes lasting 1–2 months just to learn one or two obi knots. These sessions typically cost 2,000–3,000 yen per hour. The learning challenges are specific:
- Memorizing the sequence of steps (10–15 sequential folds and manipulations)
- Learning how tight is “tight enough” without discomfort (experts recommend obi pressure at 20–30% of maximal squeeze)
- Understanding balance so the obi does not tilt or twist by midday
Muscle memory takes time to develop. Missing a week of practice often means forgetting small but important details, with proficiency regressing by 20–30%. This level of effort feels unrealistic to many modern users who simply want to enjoy wearing yukata at summer fireworks festivals or a kimono for family photos. When reliability trumps perfection, traditional tying becomes unable to meet expectations.
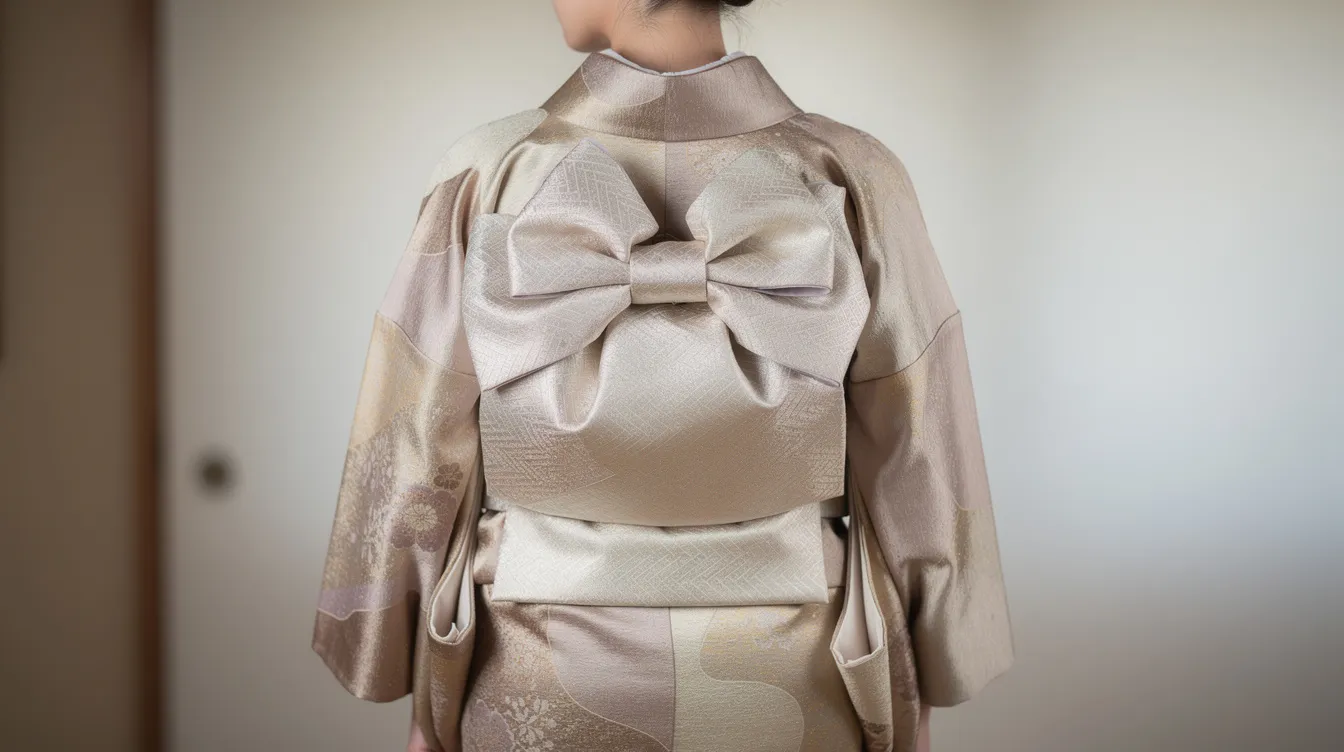
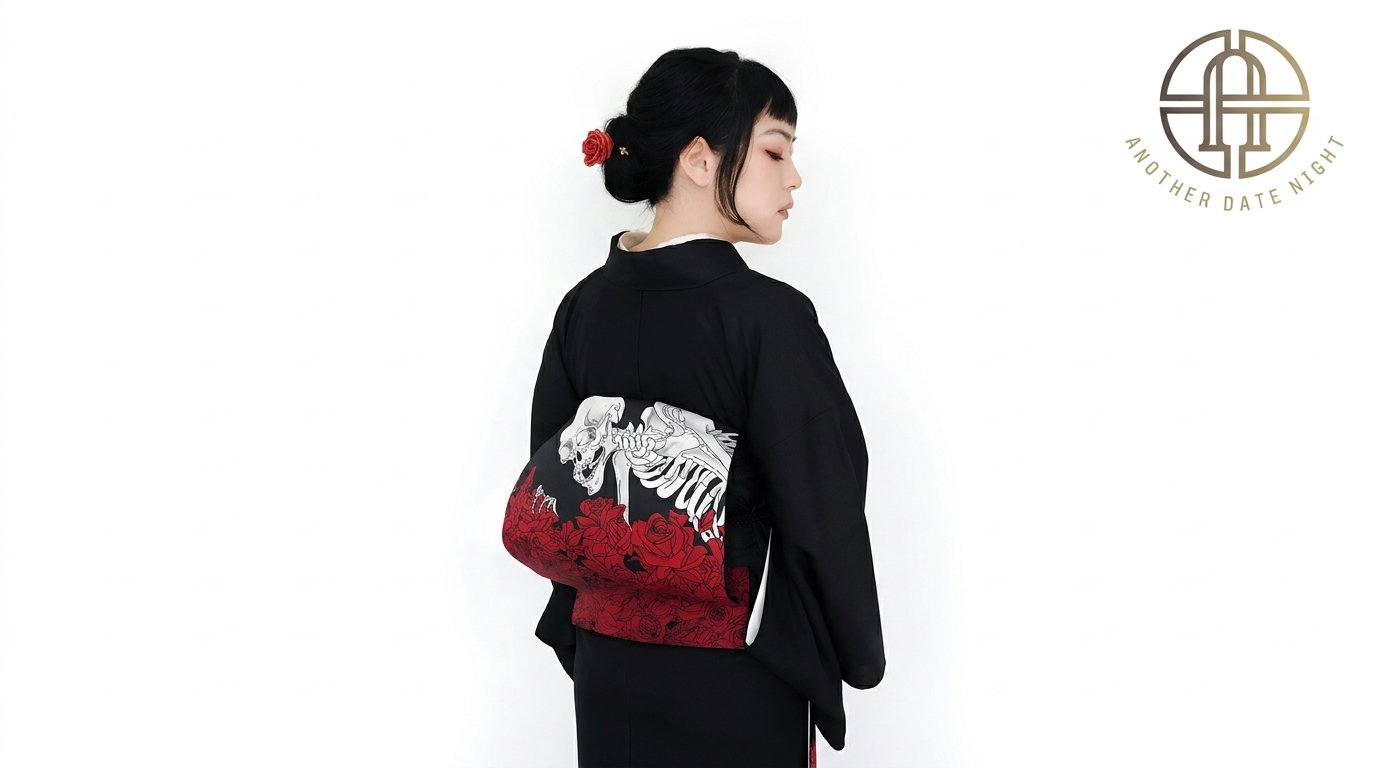
What Is a Pre-Tied Obi (Tsuke Obi)?
A tsuke obi is a two- or three-part obi where the decorative bow (musubi) is already shaped and sewn. Instead of building the knot yourself, you simply fasten the belt around your waist and attach the pre-formed bow to your back.
Pre-tied obi became popular in the late 20th century as daily kimono wearing declined dramatically. Post-WWII Westernization dropped household kimono use from 90% in 1940 to under 5% by 2000. Yet demand for quick, reliable dressing remained—especially for seasonal yukata at summer festivals and ceremonial occasions.
The two main parts are straightforward:
- The belt (do): A shorter, manageable piece (140–150 cm long) that wraps around your waist. It’s stiffened with interfacing for support and fastens with a simple tie.
- The musubi: A pre-made bow or drum shape, attached at the back with a hook, slot, or tie loop. The internal structure holds its shape without needing an obimakura.
Modern tsuke obi are especially commonly worn with yukata sets sold in department stores and online each summer in Japan. While some look very informal, well-designed versions can be neat and elegant enough for semi-formal wear and photo occasions.
How Tsuke Obi Eliminate the Hard Parts
Pre-tied obi remove almost all of the complex shaping work from the wearer. Every difficulty mentioned earlier has a built-in solution.
No need to measure long obi lengths behind your back. The belt is pre-sized and adjustable. You wrap it around your body, secure it, and you’re done with positioning.
No complex knot-building. The bow shape is sewn and stabilized from the start. You don’t need to fold, layer, or hold multiple thicknesses of fabric in place.
No need for obimakura, complex folds, or exact tension. The structure is built into the bow with internal stabilizers that maintain the shape throughout the day.
Putting on a tsuke obi typically takes about 2–3 minutes once you understand the basic steps—similar to attaching items like a regular belt and clipping on a backpack strap. The wide obi belt wraps around your waist, and the musubi clips or ties to your back.
Mistakes are easy to correct. If the bow sits too high or low, you simply unhook and reattach it—no unwrapping, no restarting from scratch. And because the musubi shape is fixed, the look stays consistent throughout the day, even if you sit, walk, or dance at a festival. Comparative wear tests show pre-tied versions hold 95% better than hand-tied obi over a full day.
ADN Kimono’s Pre-Tied Obi: Designed Around These Real Problems
ADN Kimono is a brand focused on making authentic kimono experiences accessible, starting with thoughtfully designed tsuke obi. Our product design began from observing real pain points: the long learning times, 30-minute dressing sessions, and last-minute failures on important event days.
We built our pre-tied obi around specific design goals:
|
Goal |
Solution |
|---|---|
|
Reduce dressing time to under 5 minutes |
Separate belt and bow with intuitive tie fastenings |
|
Keep a beautiful, balanced silhouette |
Internal stabilizers package that hold the bow shape and keep the front panel flat |
|
Fit a wide range of bodies |
Adjustable belt length and secure closures tested across different waist sizes |
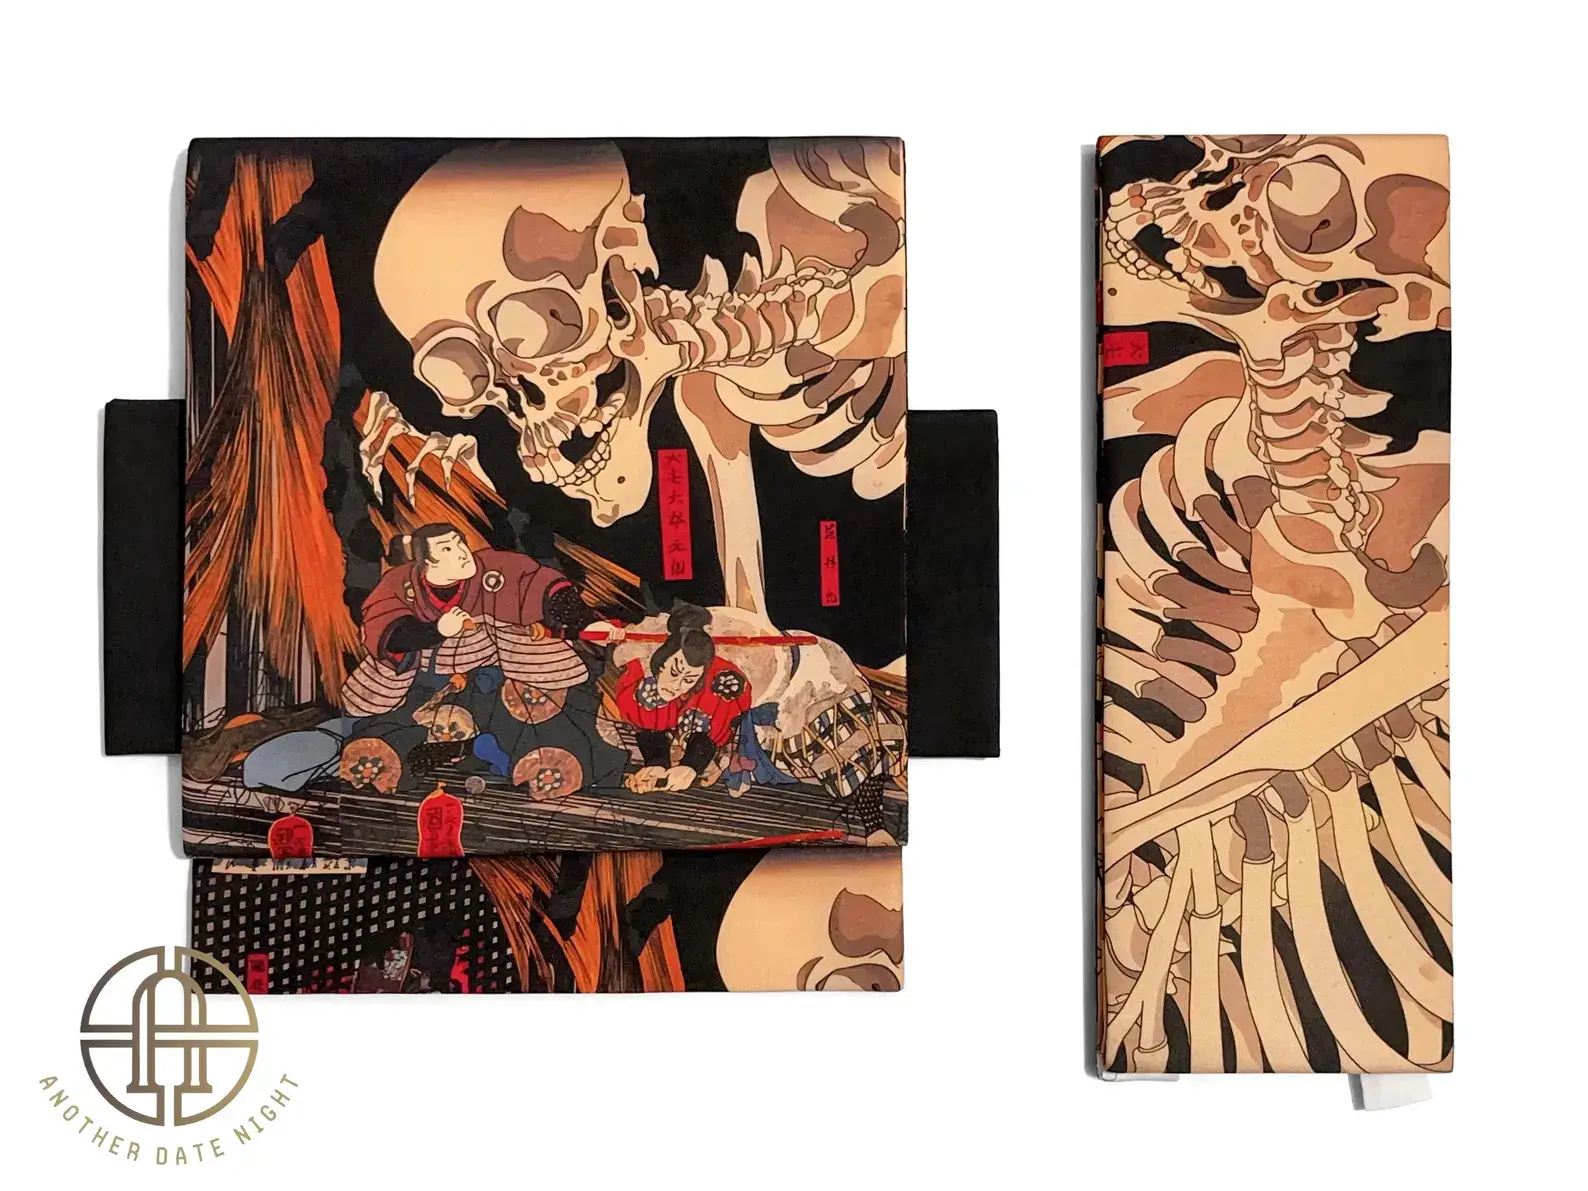
ADN Kimono’s pre-tied obi reflect classic musubi shapes—otaiko-inspired versions for elegance, bunko-style for yukata—so they feel properly Japanese, not like costume pieces. The stiffness and weight are calibrated to mimic traditional fukuro obi aesthetics at 30–50% of the weight.
Main Features of ADN Kimono Pre-Tied Obi
Here’s what you can expect when you purchase an ADN Kimono tsuke obi:
Easy 2–3 minute dressing: Wrap belt, fasten, attach bow, and lightly adjust. No memorizing sequences, no juggling tools. Even first-time users can check their outfit in a mirror and feel confident.
Stable all-day shape: Built-in interfacing keeps the bow crisp from morning photos to evening parties. The average person can wear our obi for 4–6 hours without adjustment.
Comfortable wear: Belt width is optimized to support the obi and distribute pressure evenly without digging into your waist. No red marks, no breathing restriction.
Thoughtful materials: We use firm yet lightweight synthetic fibers or blended fabrics that mimic traditional obi without excess weight (200–500g versus 1kg traditional). Colors include white, yellow, navy, gold, and ivory to coordinate with common kimono tones.
Versatile designs: Colorways and patterns work for semi-formal occasions. Each piece is designed to hold its figure through dynamic movement.
When to Choose a Pre-Tied Obi Instead of a Traditional One
Pre-tied obi aren’t just for complete beginners. They’re a practical choice for many everyday situations where convenience matters:
- Busy mornings before events: When you’re attending a tea ceremony, graduation, or wedding, you don’t have 30 minutes to spare. A tsuke obi lets you dress quickly and arrive stress-free.
- Short-term travelers to Japan: If you’re visiting for a week or two in July–August and want to wear yukata for hanabi fireworks festivals, a pre-tied option saves you from committing to classes.
- Parents dressing children: At Shichi-Go-San ceremonies in November (for children aged 7, 5, and 3), speed and reliability matter more than perfect technique. Pre-tied obi work great for wiggly kids.
- Photo shoots and portraits: Engagement sessions, family photos, and video projects demand unflagging tidiness. The consistent, soft appearance of a pre-tied obi eliminates mid-shoot adjustments.
Someone who loves traditional kitsuke can still learn full obi tying later. But pre-tied obi let you start enjoying kimono immediately—a great opening to the network of Japanese fashion traditions.
How to Put On ADN Kimono’s Pre-Tied Obi (At a Glance)
If you can tie a simple knot and clip a backpack strap, you can wear this obi. Here’s how:
- Wrap the belt around your waist over your kimono, overlap in front, and fasten securely using the attached tie. The closure should sit at your front or sides.
- Rotate the belt so the closure moves to the back, leaving a smooth panel in front. This gives you a clean silhouette from the front.
- Attach the pre-tied bow to the back center using the provided hook, slot, or tie loop. Position it at the middle of your back.
- Make small adjustments in a mirror: Check the height on your back and gently smooth the front panel. Turn to see both sides.
The whole process typically takes under 5 minutes, even the first time. With a bit of practice, you’ll finish in 2–3 minutes. We recommend practicing once or twice before a big event—but that’s a far cry from the 1–2 months required to learn full obi tying.
For a step-by-step video guide, refer to the product page after checkout. Each purchase ships with clear instructions inside the package.
Conclusion: Enjoy Kimono Now, Not After Months of Practice
Traditional obi tying is a beautiful skill—but it demands significant time, multiple tools, and months of practice. Even experienced wearers find it difficult to execute perfectly under pressure, and a single mistake can add 15 minutes to your morning.
ADN Kimono’s pre-tied obi are created specifically to solve those problems. We’ve removed the hardest steps while preserving the traditional look, so you can feel confident and comfortable from the first time you wear your kimono or yukata.
Don’t let the fear of a complicated knot keep you from celebrating life’s important moments in style. Start with a tsuke obi, add it to your cart, and enjoy your next event without worrying about failure on the day.
Explore ADN Kimono’s selection of pre-tied obi designs—tailored for both casual yukata and more formal outfits. Find the color and style that matches your kimono, and discover how easy kimono wearing can be.