

The Hidden Struggle of Tying an Obi (And How to Reclaim Your Time)
The Beauty and the Burden
When we think of wearing a Kimono, we imagine elegance, tradition, and a perfect silhouette. However, for most beginners and even enthusiasts, the reality often involves a 30-minute battle with a long, stiff piece of fabric: the Obi.
While the art of Kitsuke (kimono dressing) is beautiful, the technical difficulty of tying a traditional Obi is a significant barrier. Many spend months practicing, only to find themselves struggling on the day of an actual event.
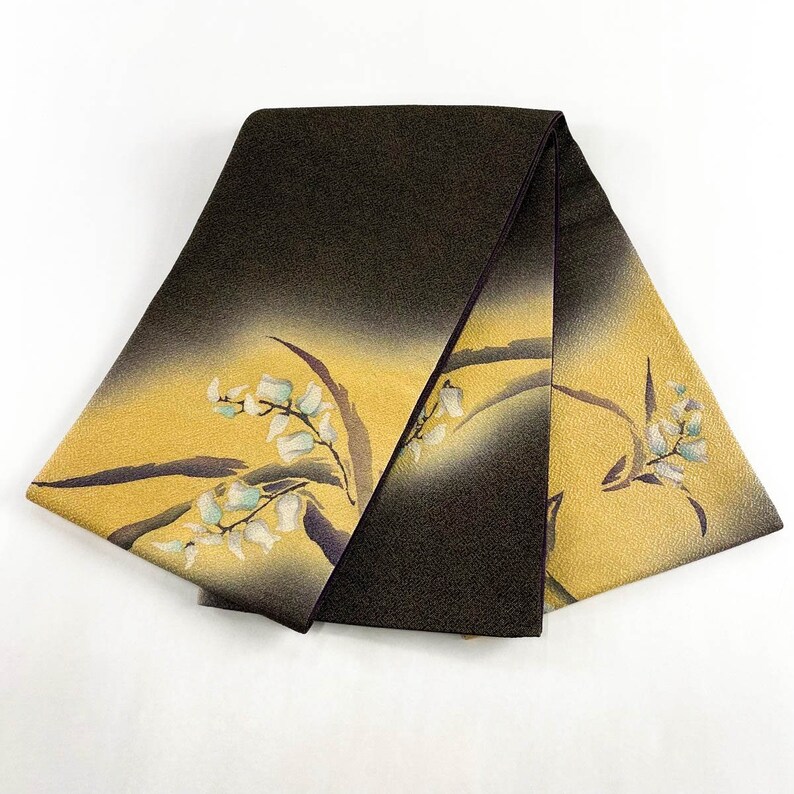
What Does it Take to Tie a Traditional Obi?
If you want to fold a traditional Nagoya or Fukuro Obi yourself, here is what you are up against:
1. The Essential Materials:
- The Obi: Usually 3.6 to 4.5 meters long.
- Obi-ita (Front Obi Board): A board to keep the front smooth.
- Obi-makura: A "pillow" to create the drum shape (Otaiko)
- Obijime & Obiage: Functional and decorative cords and scarves to hold everything in place.
- Koshinimo: Multiple waist strings for securing layers.
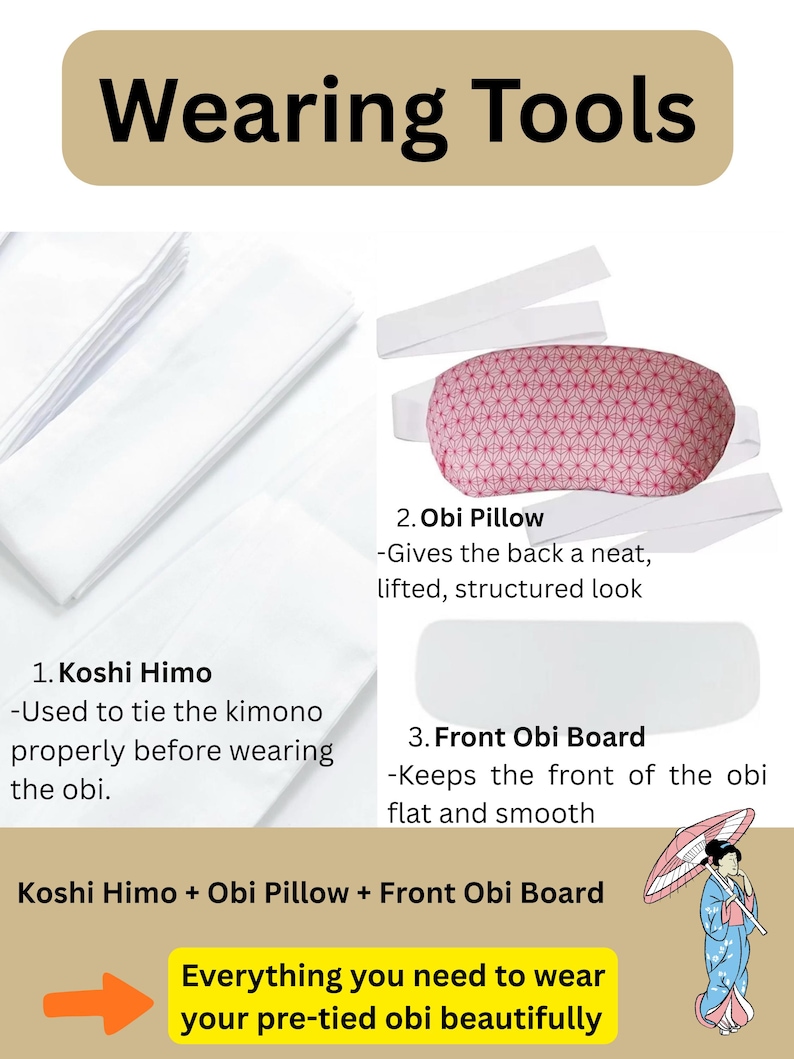
2. The Execution Steps: You have to measure the "Te" (short end), wrap the "Tare" (long end) twice around your waist while maintaining constant tension, fold the Otaiko drum precisely behind your back (without being able to see it!), and secure it all with knots that must be both tight and beautiful.
The Reality Check: Why Even Experts Fail
Many students of Kitsuke spend 1 to 2 months in weekly classes just learning the basic Otaiko knot. Even after months of practice, it is common to:
- Have the knot sit too low or too crooked.
- Feel physically exhausted from holding your arms behind your back for 20 minutes.
- Watch the entire structure "fail" or loosen after just an hour of walking.
Even for those who are "familiar" with the process, it typically takes 30 minutes of intense focus to get it right. In a modern world, who has 30 minutes just for a belt?
The Solution: Science Meets Tradition
As a kimono shop owner and kimono enthusiast, I look at kimono dressing through the lens of ergonomics and accessibility. Traditional dressing is a high-level motor task that requires significant shoulder mobility and fine motor coordination.
That is why we designed the AnotherDateNight Pre-tied Obi.
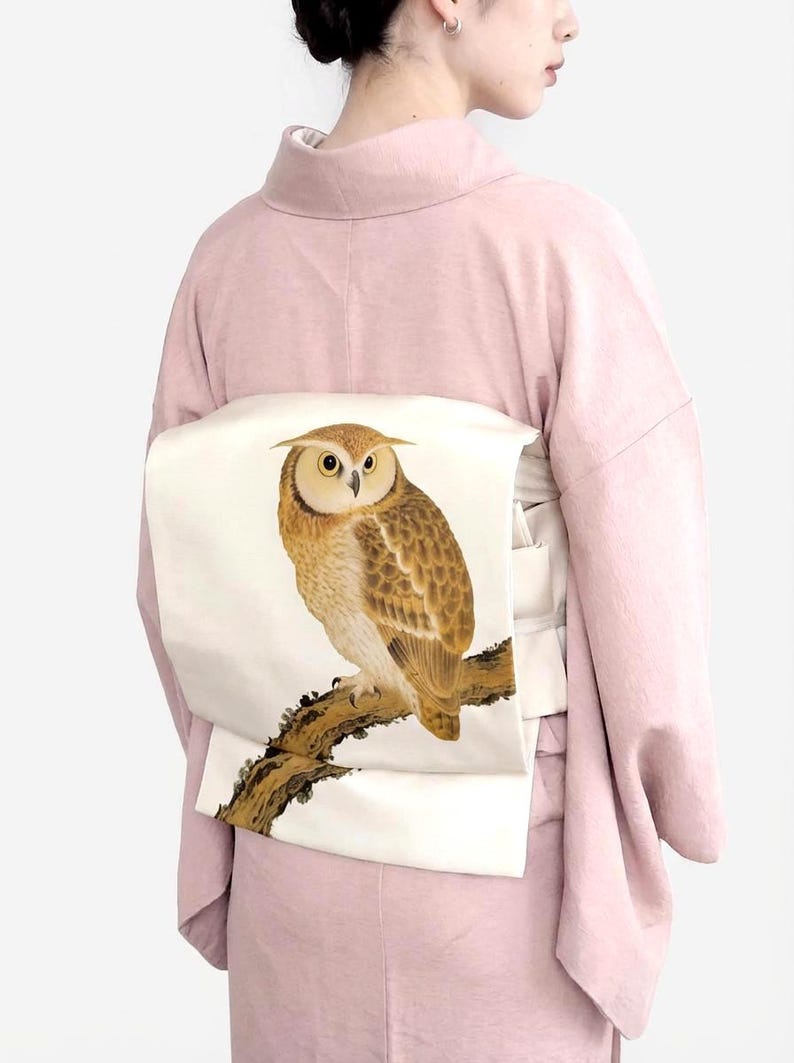
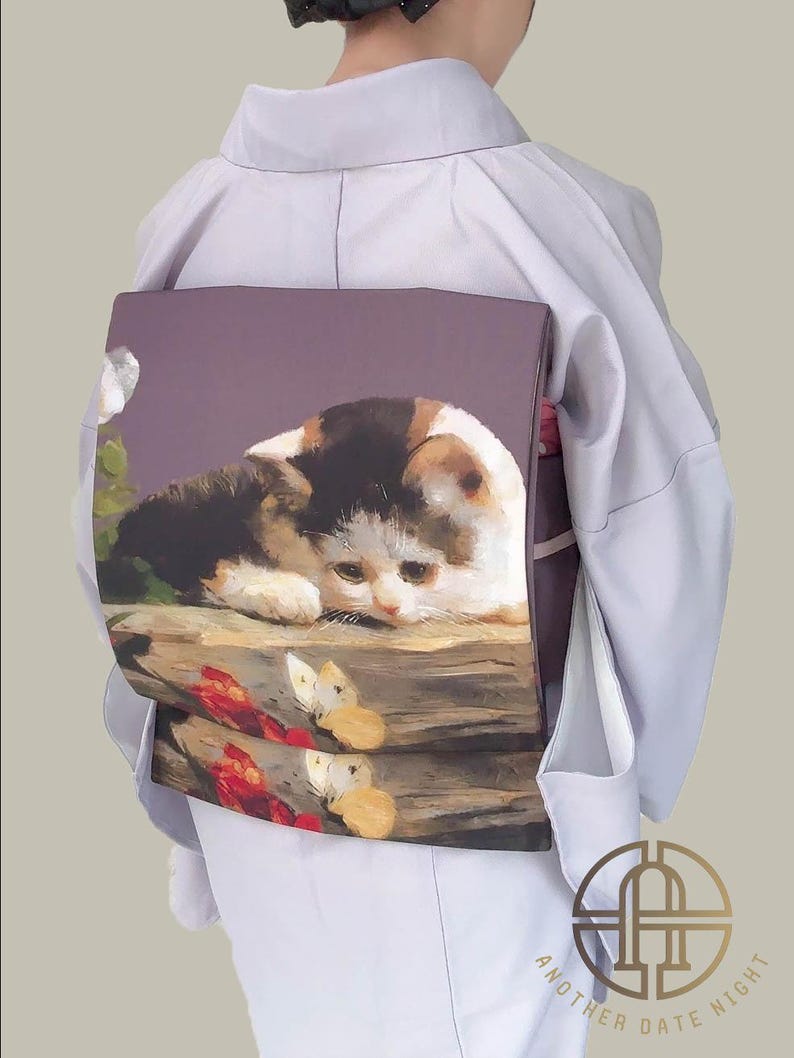
Our product targets these exact pain points:
- Time-Saving: Go from 30 minutes to under 3 minutes.
- Zero Learning Curve: No need for months of classes. If you can use a hook-and-loop or a simple buckle, you can wear our Obi.
- Consistent Perfection: The "Otaiko" (drum) is pre-constructed to look historically accurate every single time.
- Physical Comfort: Designed to be lightweight, reducing the strain on your lower back and shoulders.
Conclusion: Wear the Tradition, Skip the Struggle
You shouldn't have to be a master of knots to enjoy the beauty of Japanese textiles. Our mission is to make the Kimono accessible to everyone, regardless of their skill level or physical flexibility.
For a detailed guide on how to wear our pre-tied obi—and how to reduce your dressing time from 30 minutes to just 3 minutes with zero practice—check out our article: Pre-Tied Obi (Tsuke Obi): Making Kimono Wearing Effortless.